2024 Season Dates Announced!
The Fayette County Farmers’ Market operates on Saturdays and Wednesday May thru October.
SATURDAY MARKET: Every Saturday May 11th-October 19th, 8:30am-12:00pm at 101 E. East St, Washington Court House, OH
WEDNESDAY MARKET: Every Wednesday May 15th-October 2nd, 3:00pm-6:00pm at 1650 Columbus Ave, Washington Court House, OH

What We Do
We are a locally operated vendor and volunteer association that operates a seasonal farmers market in Washington Court House, Ohio on Saturdays and Wednesdays May thru October

Our flagship market is the Saturday morning market where shoppers can often find live music, prepared food, kids’ activities, and community guests in addition to our wonderful vendors
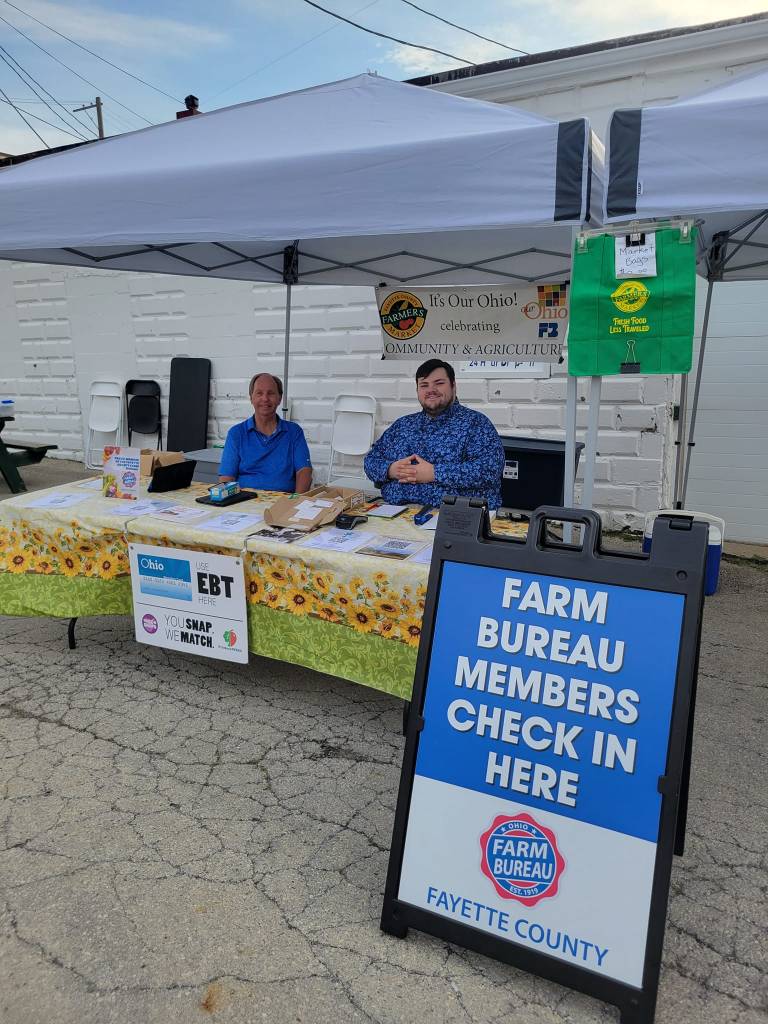
We accept cash, credit cards, SNAP/EBT, Produce Perks, Senior Nutrition Coupons, and Fayette County Farm Bureau Coupons
Why You’ll Love Us
There is never been a better time to eat local. Local means fresher food and better economic support for our community and neighbors.
- Delicious
- Local
- Sustainable
- Seasonal
- Fun!
Our Recent Posts
- 2024 Season Dates Announced!Opening Day of The Fayette County Farmers’ Market will be May 11th, 2024 Dates and hours are as follows: Saturday Market: every Saturday May 11th-October 19th 8:30a.m.-12:00p.m. at 101 E. East St, Washington Court House, OH 43160 Wednesday Market: EveryContinue reading “2024 Season Dates Announced!”
- BASIC BEET GREENS PREPARATIONHow to Prepare Beet Greens Check the leaves carefully to be sure that there are no insects and wash in fresh cold water thoroughly. Lift the leaves from the bowl, pour off the water, and wash again. Do not pourContinue reading “BASIC BEET GREENS PREPARATION”
- WHAT DO YOU DO WITH YOUR BEET GREENS?Eat Your Beet Greens! by Kemp Minifie on 08/28/13 at 11:00 AM “What happened to the beet greens?” I cried to the produce clerk. I adore beet greens, even more than the big red root, so I always look forContinue reading “WHAT DO YOU DO WITH YOUR BEET GREENS?”
